
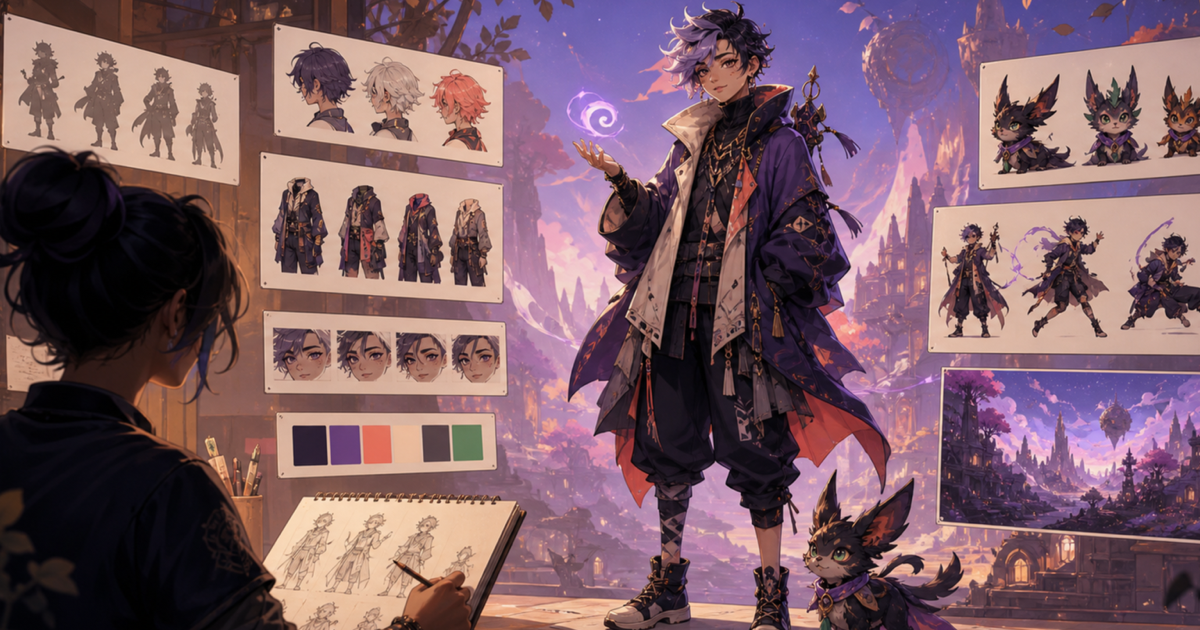
An AI OC maker turns a written character idea into visual concept art. With Headcanon’s OC Maker, you can either describe the whole character in plain language or control details such as character type, hair, eyes, outfit, expression, pose, framing, background, and art style. You then review the generated image, refine the direction, download your choice, or save it as a private character for further development.
The tool is most useful as a visual drafting partner. It can help you explore a design when you do not draw, compare art directions before commissioning an artist, or give an existing written character a clearer visual identity. The creative decisions still belong to you, and every result should be reviewed before it becomes the character’s final design.
What Is an OC Maker?
An OC maker is a tool for creating an original character, often shortened to OC. If the term is new to you, our guide to what OC means explains how “original character” differs from “original content” and other uses of the abbreviation.
Some character makers assemble preset parts. An AI OC maker instead interprets a description or structured set of choices and generates a new image from that direction. This makes it flexible, but it also means the output can vary between generations. A good workflow combines clear creative intent with careful review rather than expecting one click to finish the character.
Who Is Headcanon OC Maker For?
- Writers who can describe a character but need a visual reference.
- Roleplayers who want a portrait for a new campaign or profile.
- Fan creators developing a fandom OC without copying a canon character.
- Artists exploring silhouettes, palettes, outfits, poses, or mood before drawing.
- Game and comic creators testing early character directions for a larger cast.
- Beginners who want structured controls instead of learning prompt syntax first.
Two Ways to Create an OC
Headcanon OC Maker has two creation modes. Both use the same visual-generation workflow, but they suit different starting points.
Describe mode: start with one flexible prompt
Describe mode is best when you already see the character in your mind. Write a compact visual brief that combines identity, distinctive features, clothing, mood, and setting. You do not need special commands or a long list of tags.
“A quiet young forest guardian with short copper curls, moss-green eyes, a weathered cream cloak, a carved wooden staff, and a cautious expression, standing beside an ancient gate.”
That prompt gives the generator a role, recognizable colors, a prop, an emotional direction, and a background. Each detail contributes something visible.
Detailed Builder: direct each visual choice
Detailed Builder is useful when a blank text box feels too open-ended or when a feature must not be forgotten. You can select or enter details across identity, appearance, clothing, pose, framing, and background. The current builder includes options for:
- Character type, gender presentation, age group, and archetype.
- Hair style and color, eye color, and distinctive features.
- Outfit style and a custom outfit description.
- Expression, pose, and portrait-to-full-body framing.
- Automatic, simple, solid-color, or scene backgrounds.
- Additional instructions and details to avoid.
The builder compiles those choices into one visual direction. It does not replace your judgment; it simply makes the brief easier to inspect and revise.
Choose an Art Style That Supports the Character
Style changes more than surface decoration. It affects shape language, detail, proportions, lighting, and how strongly the design communicates a genre. Headcanon OC Maker currently offers eight visual directions: Modern Anime, Manga Ink, Chibi, Fantasy, Cartoon, Comic Book, Stylized 3D, and Semi-Realistic.
- Modern Anime works well for clean line art, expressive faces, and contemporary fandom characters.
- Manga Ink emphasizes black-and-white contrast and graphic marks.
- Chibi simplifies proportions for playful avatars and lighthearted concepts.
- Fantasy favors painterly texture, costume detail, magic, and atmospheric settings.
- Cartoon and Comic Book strengthen silhouettes and bold visual storytelling.
- Stylized 3D gives the design a sculpted, dimensional finish.
- Semi-Realistic supports more natural proportions and surface detail.
Choose the style that fits the project, not merely the one that looks most impressive in isolation. A comic cast, tabletop portrait, visual novel, and prose reference sheet may each benefit from a different level of detail.
How to Use Headcanon OC Maker
- Open OC Maker and select one of the eight art styles.
- Choose Describe or Detailed Builder based on how specific your idea already is.
- Define the character’s most important visual signals: role, silhouette, palette, outfit, expression, and one distinctive feature.
- Choose the pose, framing, and background that fit the image’s purpose.
- Review the generation brief and the displayed credit cost before submitting.
- Generate one, two, or four images, then compare the results against the same character brief.
- Refine only the details that missed your intention and generate again.
- Download the selected image or save it as a private, reusable character.
A Better OC Prompt Formula
A useful OC prompt is specific enough to guide the image but short enough to preserve a clear hierarchy. Use this order:
“Role + character type + silhouette + two color anchors + outfit + distinctive feature + expression or pose + setting.”
Weak prompt
“Make a cool fantasy character.”
Stronger prompt
“A confident elven courier with a compact athletic silhouette, black-and-gold travel clothes, cropped white hair, one mechanical wing, and a knowing smile, pausing on a rooftop at sunrise.”
The stronger version does not describe every button, seam, or strand of hair. It establishes a readable identity and gives the image a focal point. If the result becomes cluttered, remove secondary details before adding more instructions.
Design the Character, Not Just the Outfit
A visually attractive image is not automatically a strong character. Before generating, decide what the design should communicate. A healer may look precise, exhausted, comforting, ceremonial, or rebellious. Each interpretation leads to different posture, materials, colors, and props.
Ask four questions before you settle on a design:
- What role does this character play?
- What should another person notice first?
- Which visual detail comes from the character’s history or daily life?
- What contradiction makes the design less predictable?
For example, a feared monster hunter who carefully repairs delicate jewelry has a more specific visual direction than a generic warrior. The small repair tools, protected hands, and careful posture can reveal personality before the backstory is explained.
How to Refine an AI-Generated OC
Change one category at a time. If you replace the hairstyle, costume, pose, palette, and setting together, you will not know which change improved the design. A controlled iteration loop is easier to evaluate:
- Keep the role, silhouette, and main colors fixed.
- Change one uncertain feature, such as the coat, expression, or background.
- Compare the new image with the previous result.
- Save the choice that communicates the character more clearly.
You can request multiple images in one generation when you want broader exploration. The tool’s current bundles support one, two, or four images, and the credit estimate is shown before generation. More images provide options, but they do not remove the need to compare anatomy, hands, accessories, continuity, and unwanted visual artifacts.
What AI OC Maker Can and Cannot Do
It can help with
- Turning a written idea into an initial visual concept.
- Testing several art styles, palettes, outfits, poses, and backgrounds.
- Giving writers and roleplayers a concrete reference image.
- Preparing a clearer direction for later drawing, editing, or commissioning.
It does not guarantee
- Exact character consistency across separate generations.
- Perfect anatomy, hands, accessories, text, or small costume details.
- A finished character personality, backstory, relationship network, or story arc.
- That every generated element is suitable for every publishing or commercial context.
Treat the output as a creative draft. Review the image carefully, respect the rules of the community or project where you plan to use it, and use human editing or commissioned artwork when the final context requires tighter control.
Saving and Continuing the Character
After generation, you can download the selected image or save it as a character. Saved character assets are private by default. You can place the character in an existing project, create a new project, or keep it in an OC Maker library.
The saved visual can become the starting point for deeper development. Use the Character Kit Generator to explore personality, backstory, headcanons, relationships, and scenarios. Use OC Studio when you want to organize multiple characters alongside worldbuilding, relationship networks, and story arcs.
Credits, Accounts, and Privacy
You can explore the OC Maker controls before paying, but image generation requires a Headcanon account and credits. The current cost is displayed in the tool before you submit because it depends on the number of images requested. Failed images are not charged.
Generated images are not published automatically. Saved OC assets are private by default, and the generation history is available from the signed-in dashboard. These access and privacy details may evolve with the product, so check the live OC Maker interface before generating.
Frequently Asked Questions
Do I need drawing skills to use OC Maker?
No. You can describe the character in plain language or use the Detailed Builder. Drawing knowledge can help you evaluate a design, but it is not required to generate an initial visual draft.
Is Headcanon OC Maker free?
The controls can be explored without charge. Creating images requires an account and credits, with the current cost shown before submission.
Can I make anime OCs?
Yes. Modern Anime, Manga Ink, and Chibi are three of the available styles. You can also use Fantasy, Cartoon, Comic Book, Stylized 3D, or Semi-Realistic for a different visual direction.
Can I generate a full-body OC?
Yes. Framing options range from portrait and bust compositions to half-body, three-quarter-body, and full-body images. Full-body generations may require extra review of hands, feet, props, and small costume details.
Can I keep the exact same character in new images?
You can reuse the same visual settings and prompt direction, but exact identity and costume consistency are not guaranteed between AI generations. Save strong reference images and compare identifying details every time.
Are my generated OCs public?
No. Images are not published automatically, and character assets saved from OC Maker are private by default.
Create the First Visual Draft
A useful OC maker should help you make decisions, not make every decision for you. Start with the character’s role, choose a visual hierarchy, generate a draft, and refine one uncertain detail at a time. When you are ready, open Headcanon OC Maker and turn the idea into a visual character you can continue developing.